
This page explains how to carry out simple meter supply tests to check if your meter is correctly linked to your property. Select the test you need below to get started.
Identify your meter,
avoid incorrect billing.
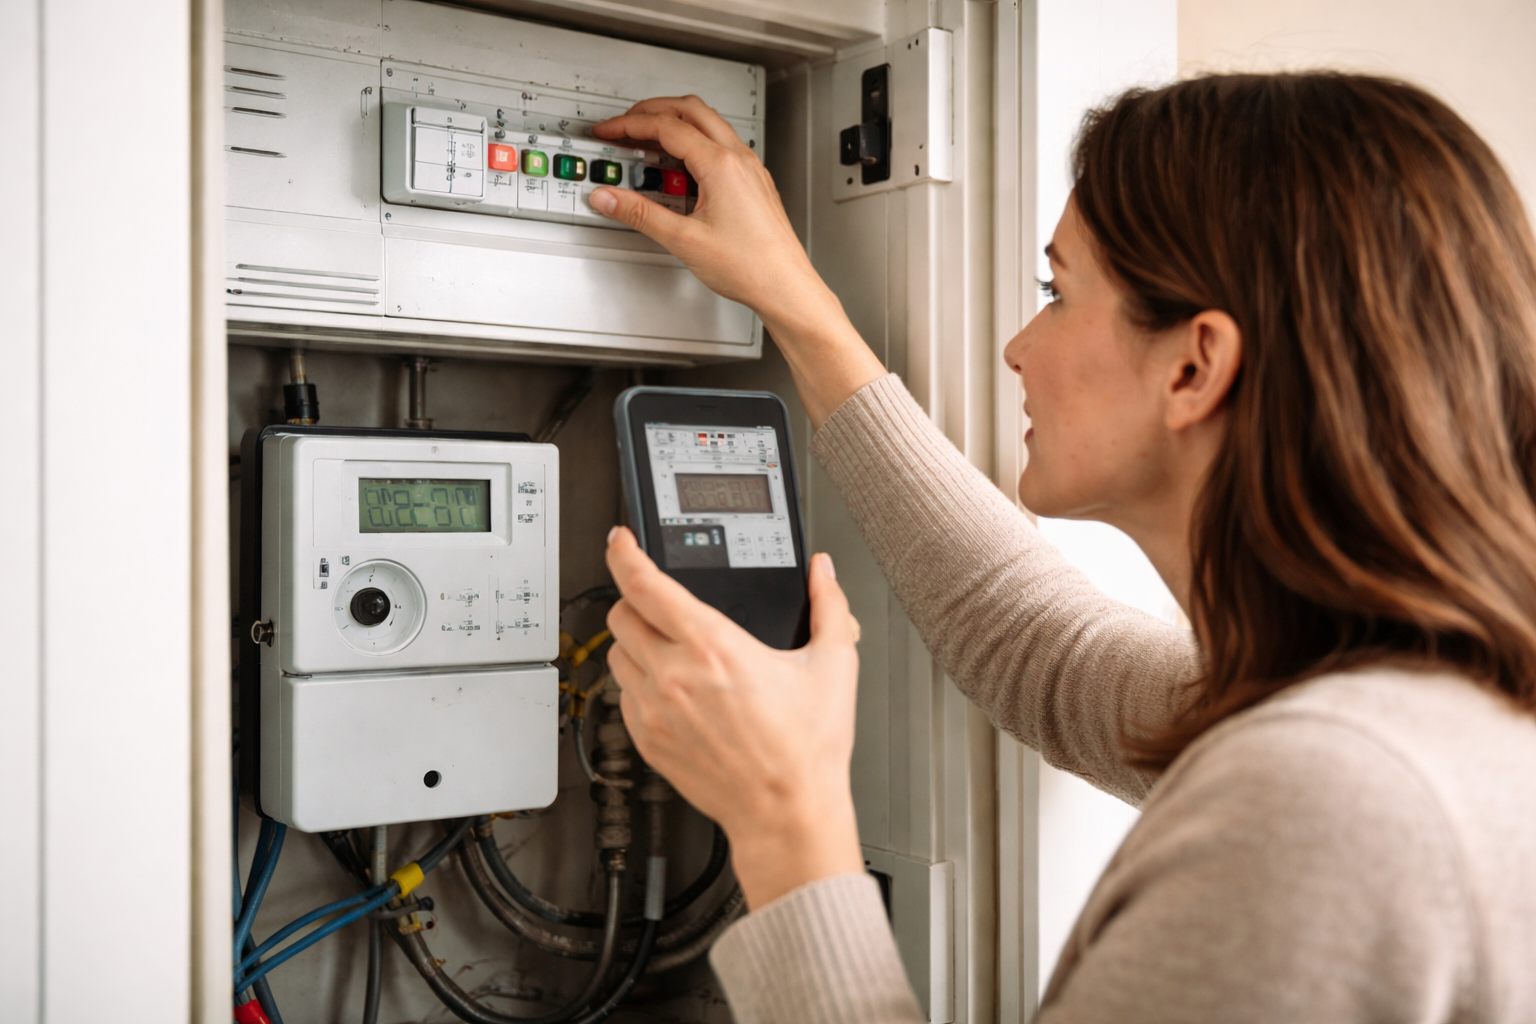
Creep Test: Crossed Electricity Meters
You need to complete this test while your neighbours are in and using their power to show which meter supplies you and which meter supplies them.
Leave the power off
4.
1.
Prepare your home
Wait at least 40 minutes to allow for accurate results. Avoid using any electricity during this time.
Switch off any sensitive appliances like TVs, computers and laptops at the plug.
2.
Turn off your power
Go to your fuse box and switch off the main power using the main switch or RCD.
3.
Take initial readings
Take a photo of your meter reading and your neighbours meter for comparison.
4.
Leave the power off
Wait at least 40 minutes to allow for accurate results. Avoid using any electricity during this time.
5.
Take final readings
Return and take another photo
of both meters before turning
the power back on.
6.
Compare the results
The meter that increased is
your neighbour’s. The one that
stayed the same is yours.
We must have pictures of both meters to prove that the meter is crossed. This is an absolute requirement if we can sort out the issues. Without the timed results of the test, the supplier to the other meter involved here will reject our request to swap them over.
Make sure your gas meter is the right one.
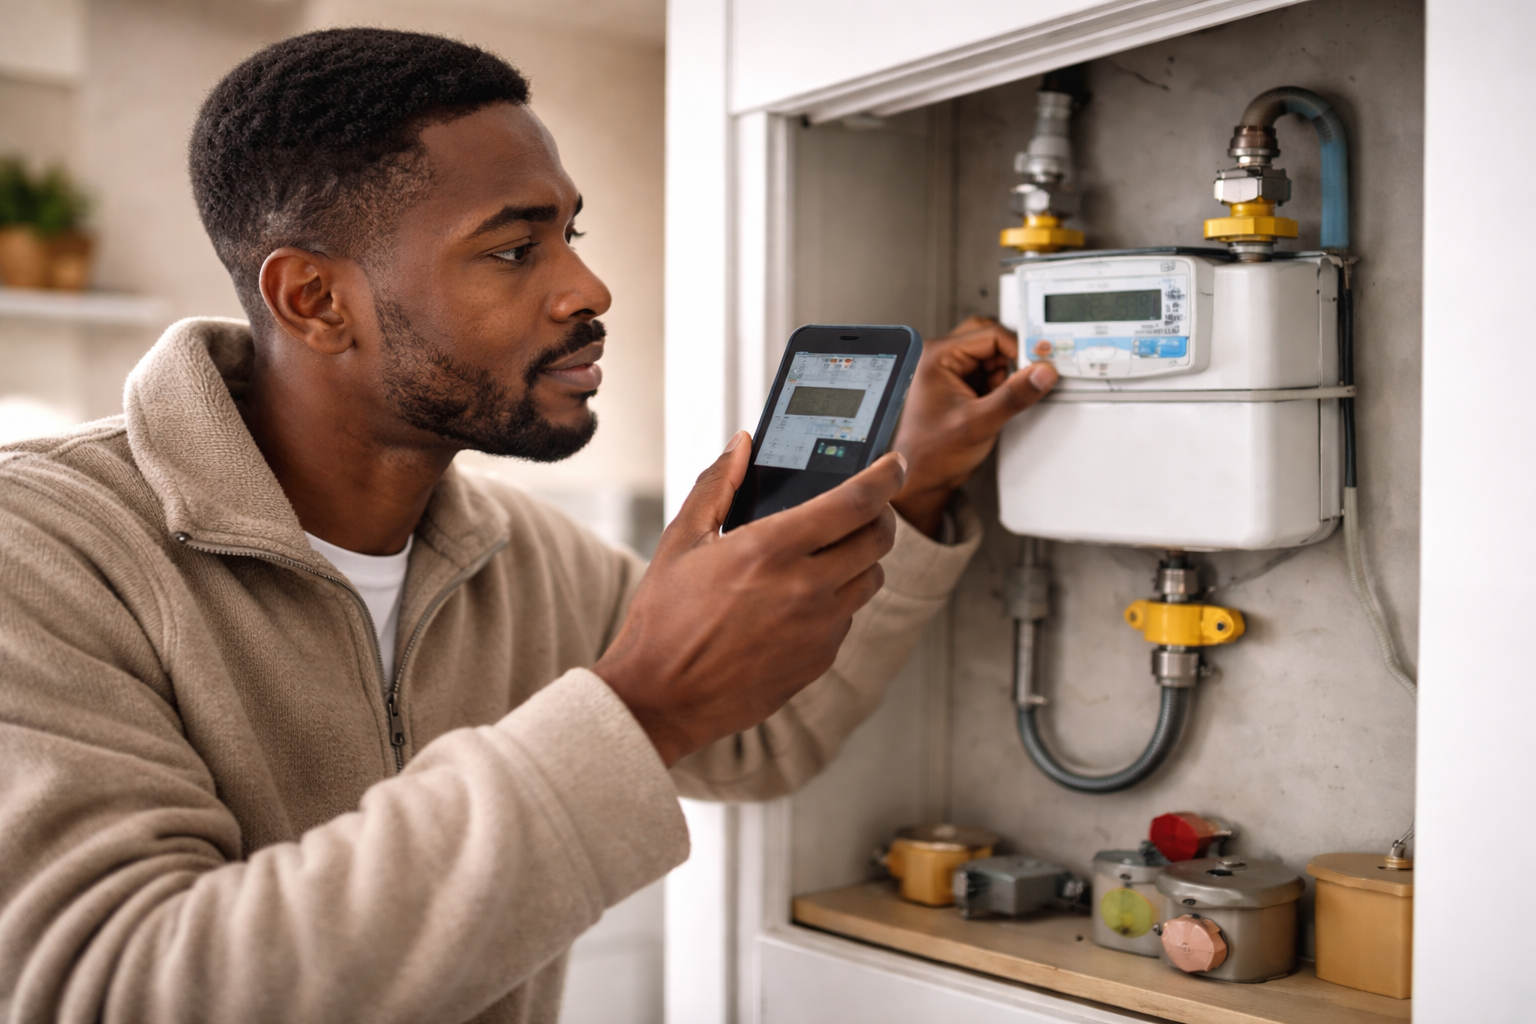
Burns Test: Crossed Gas Meters
Follow this simple test to confirm which gas meter supplies your property and ensure your billing is accurate.
There are 2 ways to complete this test, the first scenario is if your meter is potentially mixed up with your neighbours and you are completing the test when they are in and using gas:
1.
Take initial readings
Take a photo of both meters, including serial numbers and labels. Both readings are required - one alone is not valid evidence.
2.
Turn off your gas
Switch off all gas appliances, including boiler and hob.
Ensure your boiler is not set on a timer.
3.
Take initial readings
Leave gas off for 30 – 40 minutes. Give enough time for any usage to show.
4.
Leave the power off
Wait at least 40 minutes to allow for accurate results. Avoid using any electricity during this time.
Return and take another photo of both meters. Include the time of the readings.
Take final readings
4.
5.
Compare the readings
Check which meter has changed and which has not.
6.
Identify your meter
The meter that has not changed is yours. The one that has increased belongs to another property.
The second scenario you can complete the test is the opposite, where your neighbour is out and not using gas, so you burn a little of yours to show which one is your meter:




Take a second set of both meter readings to track any changes.
TruCompare
TruIdentify
The meter that increases is yours - the other belongs to another property.
Turn on gas like your hob or boiler to create measurable usage.
TruCheck
Take clear photos of both meters, including serial numbers.